Chile · Torres del Paine
W Trek in 5 Days: Itinerary, Campsites and Costs
How we hiked the W Trek in Torres del Paine in 5 days, without a guide: our day-by-day itinerary, the campsites we booked, what it cost, and what I'd do differently.
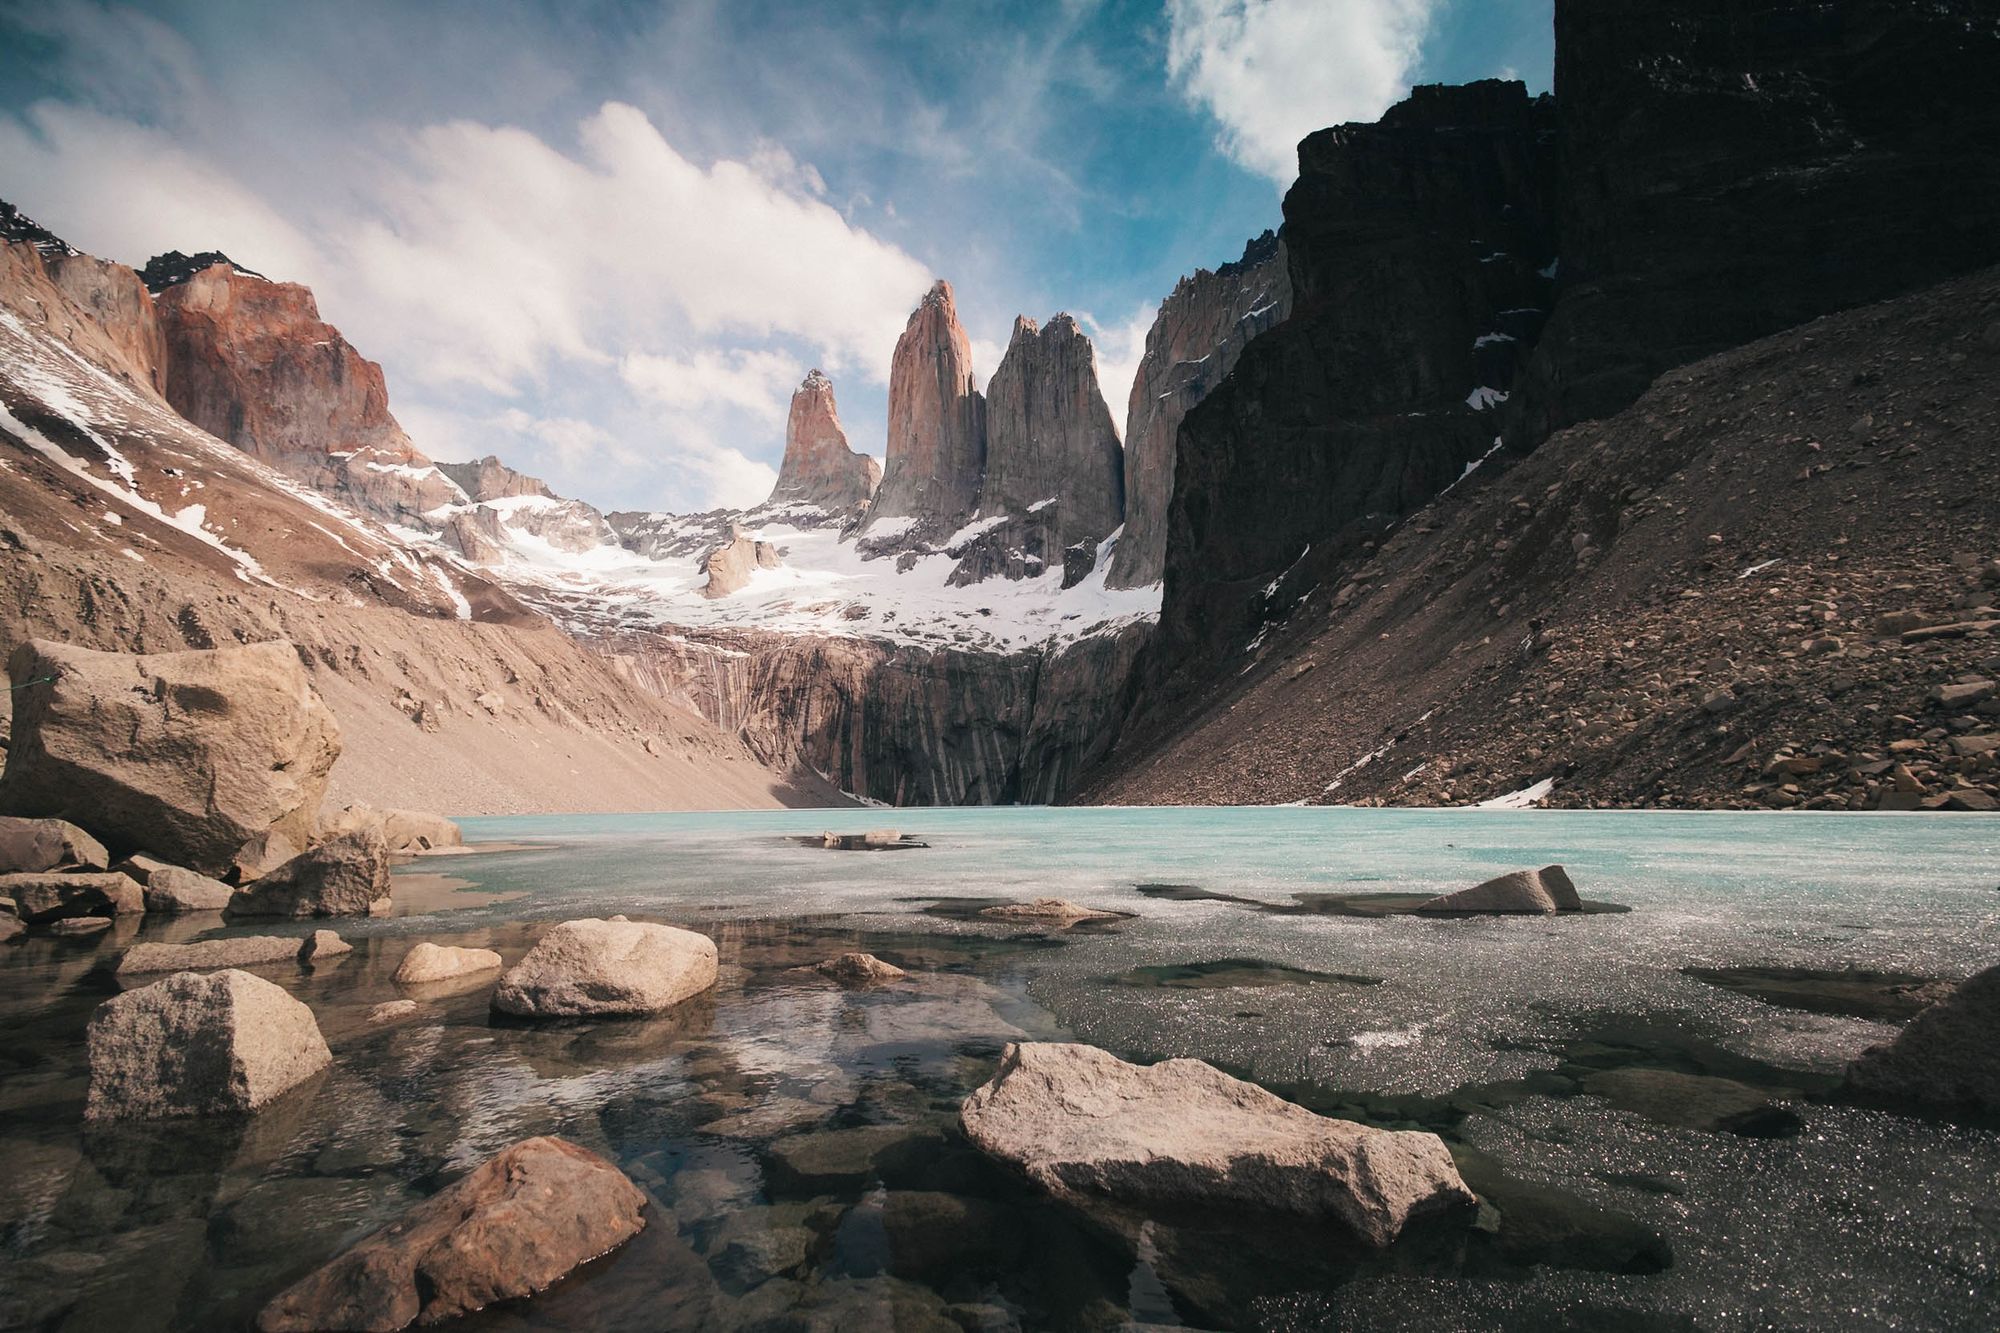
What is the W Trek?
The W Trek is a 4–5 day hike in Torres del Paine National Park, in Chilean Patagonia. It follows the southern side of the Paine Massif, and it’s called the W because that’s what the route looks like on the map: three valleys, three big viewpoints, and a lot of up and down.
We hiked the W Trek in 5 days, east to west, camping, without a guide, in mid-October. Well, technically 6 days, but that one’s on our bus ticket :D More on that below.
- Difficulty: moderate. There are no technical sections, but the days are long (up to 20 km), the climbs to Base de las Torres and Mirador Británico are steep and rocky, and you carry everything on your back.
- Guide: not needed, we went on our own
- Booked: everything in early May, about five months ahead
- Cost: around $310 per person, without gear
- Weather: sun every day and no wind. We got incredibly lucky.
W Trek or O Circuit: which one should you do?
If you have 4–5 days, do the W. It covers the three highlights: Base de las Torres, the Francés Valley and Grey Glacier.
The O Circuit is the full loop around the massif: about 130 km, usually 7–9 days, and you can only hike it counterclockwise. It includes the whole W, plus the quieter back side.
We went for the W because our South America itinerary put us in Torres del Paine in mid-October, when the O Circuit’s back side was still closed. If we’re lucky, we’d love to come back one day and do the whole loop.
Do you need a guide for the W Trek?
No, you don’t need a guide for the W Trek in the main season (October to April). We hiked it on our own.
Winter is different. In 2026, between 27 April and 15 September, the W was only open with an accredited guide, so check the rules if you’re going outside the summer season.
One thing we skipped: sunrise at the towers. Hiking in the dark without a guide isn’t allowed, and you can get sanctioned for it. We didn’t want to risk it.
Which direction should you hike the W Trek: east to west or west to east?
Both directions work. We hiked the W Trek east to west: towers first, Grey last. A blog recommended it, and we ended up loving it this way. I’d still like to do it the other way round one day, because the views must look completely different from the other direction.
| East to west (what we did) | West to east | |
|---|---|---|
| The towers | Day 1, on fresh legs | Last day, as the grand finale |
| Getting in | Bus + shuttle to the Welcome Center | Bus + catamaran to Paine Grande |
| Getting out | Catamaran from Paine Grande, so you’re tied to its schedule | Bus from the east side of the park |
| Bonus | Time for a short hike near Pudeto before the evening bus | You build up to the hardest day |
Most people seem to hike west to east, so going east to west you walk against the traffic. In October there were so few people that we barely noticed.
W Trek itinerary: how to hike it in 5 days
This is our 5-day W Trek itinerary in Torres del Paine, east to west. The distances are what we actually walked, side trips included.
| Day | Route | km | Night |
|---|---|---|---|
| 1 | Welcome Center → Base de las Torres → back down to Central | 19 | Central |
| 2 | Central → Francés | 16 | Francés |
| 3 | Francés → Italiano → Mirador Británico → Italiano → Paine Grande | 20 | Paine Grande |
| 4 | Paine Grande → Grey + Mirador Grey | 11 | Grey |
| 5 | Grey → Paine Grande, catamaran to Pudeto, bus to Puerto Natales | 11 | Puerto Natales |
Day 1: Welcome Center → Base de las Torres → Central (19 km)
We took the 6:30 bus from Puerto Natales to Laguna Amarga, then a smaller shuttle to the Welcome Center next to Central campsite. Our plan was to pitch the tent first and hike up to Base de las Torres with just a small pack, but check-in only started at 14:00. Luckily, we could leave our big packs in a storage room, so we set off with the small ones anyway.
The first part of the hike is pretty easy and doesn’t have many great views, until you get almost to the end, where the trail turns up towards the lake. Warning signs there say that this section closes at 14:00. From here the climb gets very steep and rocky, and our trekking poles came in really handy. There are also a lot more people on this part, because many come from Puerto Natales just for the day hike.
We had a perfect view: not a single cloud on the towers, and they are ridiculously gorgeous. Even the crowd didn’t bother us, and we could really enjoy it, for about half an hour. Then the ranger stationed there started clearing everyone out at 15:30, so that people get back before sunset. That was a surprise.
So we started the descent a bit unwillingly (we would have loved to stay longer), got back to Central, set up camp and had a good night’s sleep.
The other option for the first night would have been Chileno campsite. It’s closer to the towers, but stoves aren’t allowed there and you have to buy their meals, so we chose Central.
Day 2: Central → Francés (16 km)
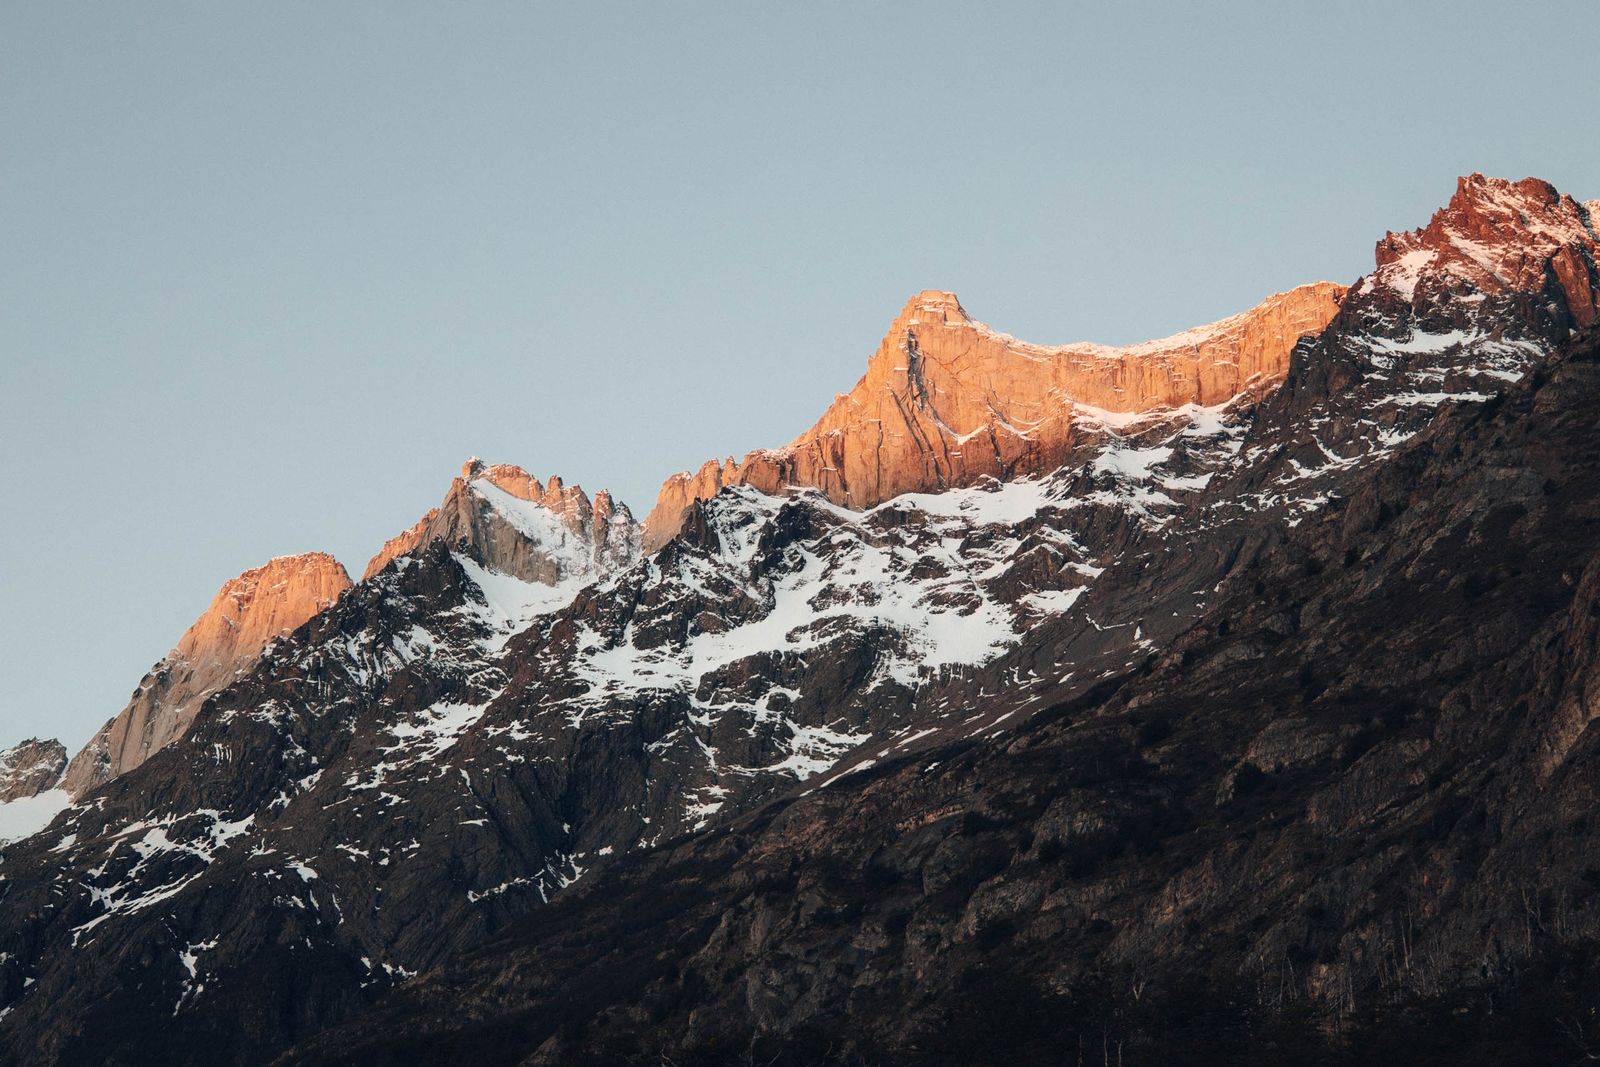
We woke up early to catch the alpenglow from the campsite. Again, we were lucky: we saw the towers glowing pink, although only from a distance. Then we packed up and started the long hike to Francés.
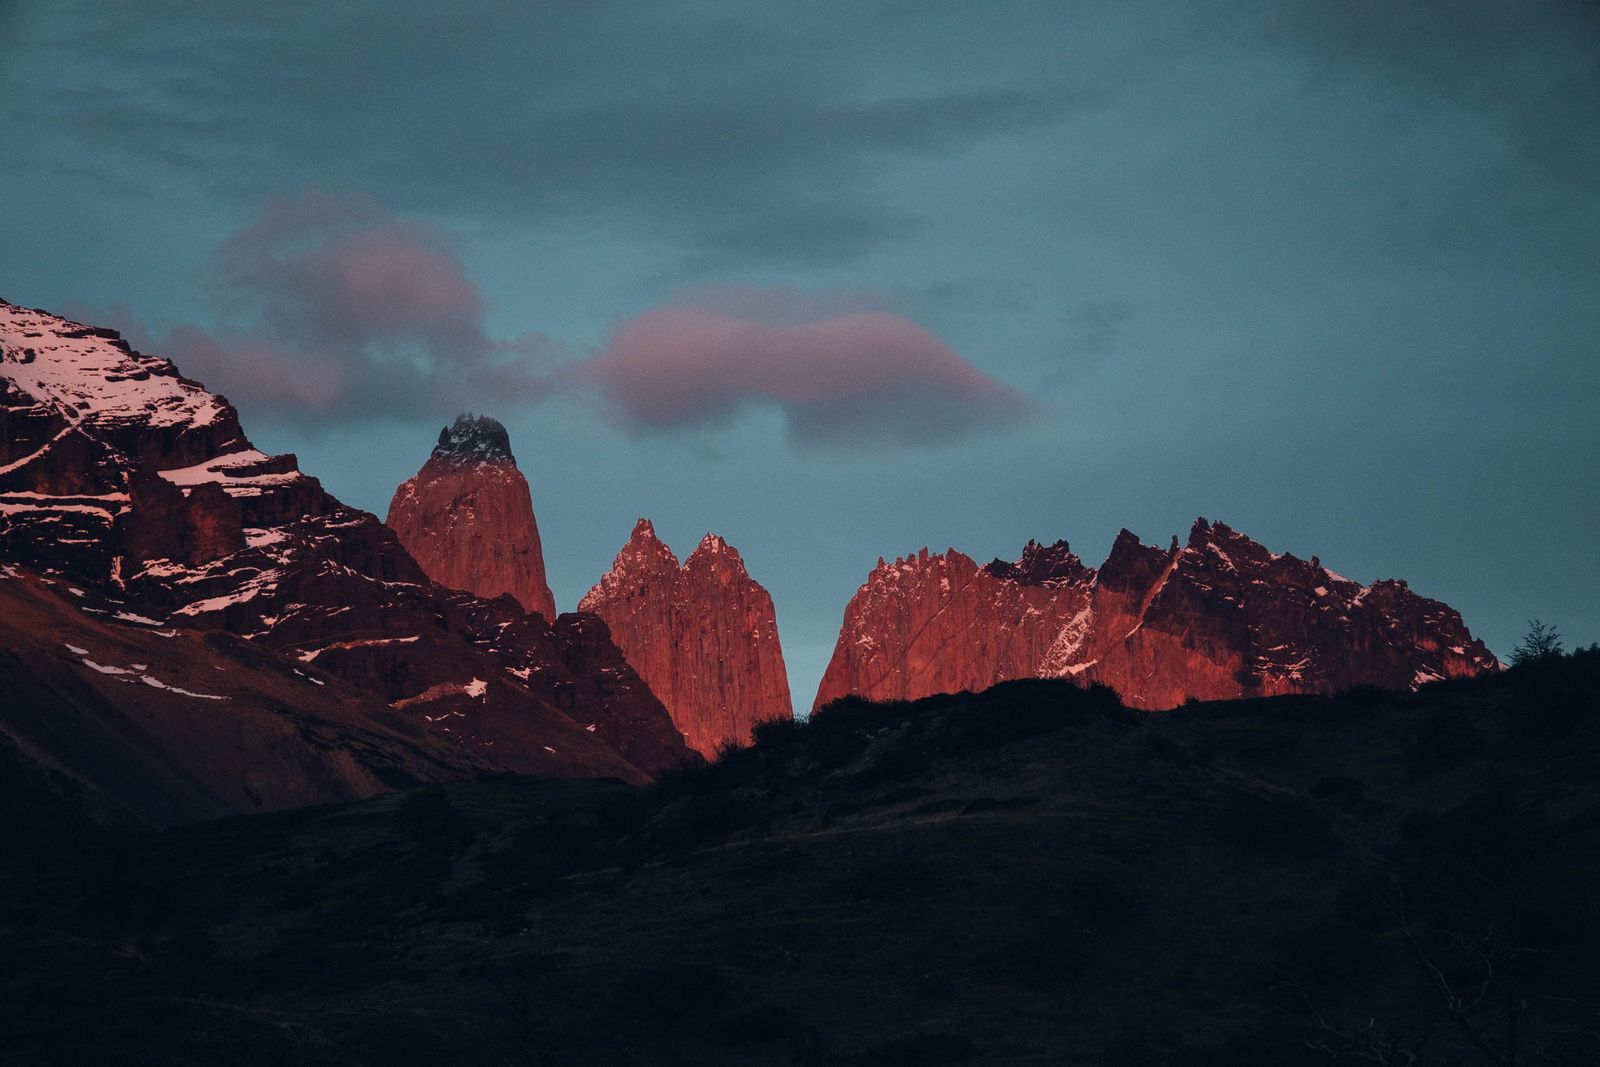
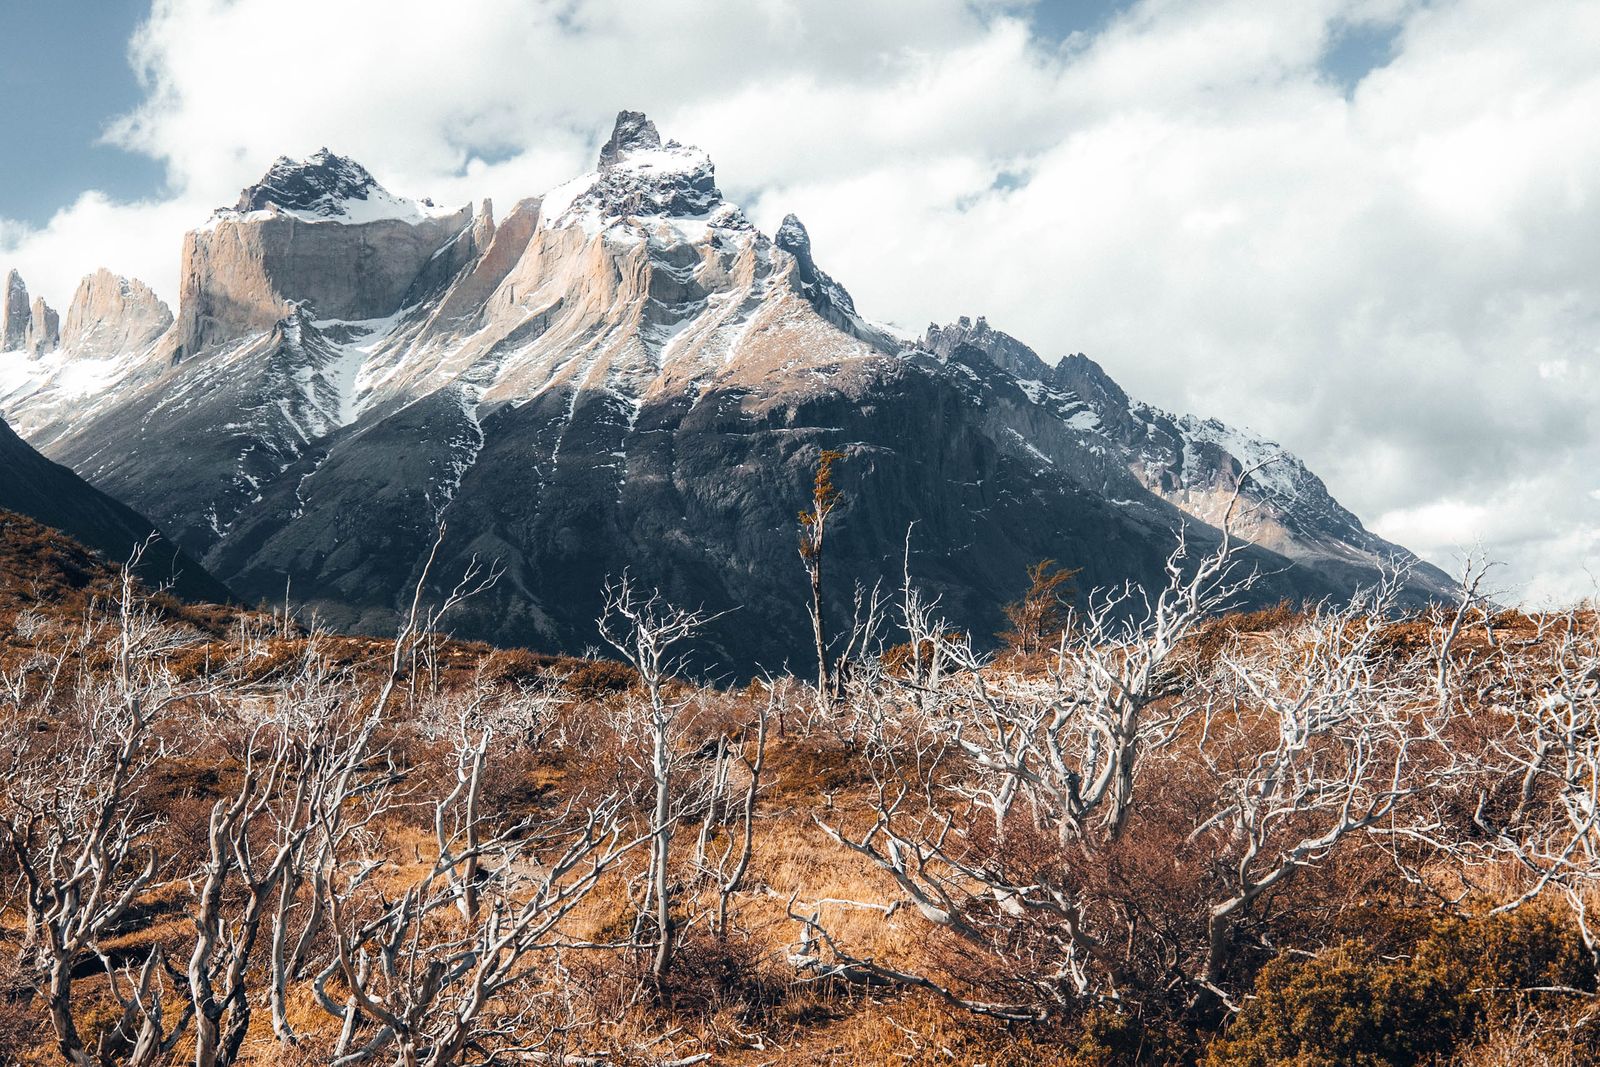
Honestly, this was one of my favorite days. On day 1, apart from the incredible view at the top, the scenery wasn’t that exciting, and I was a little disappointed. Day 2 proved me wrong. The landscape got more and more epic: the blue water of Lago Nordenskjöld came into view and stayed with us all day, and the wild, rocky terrain opened up as we went deeper into the park.
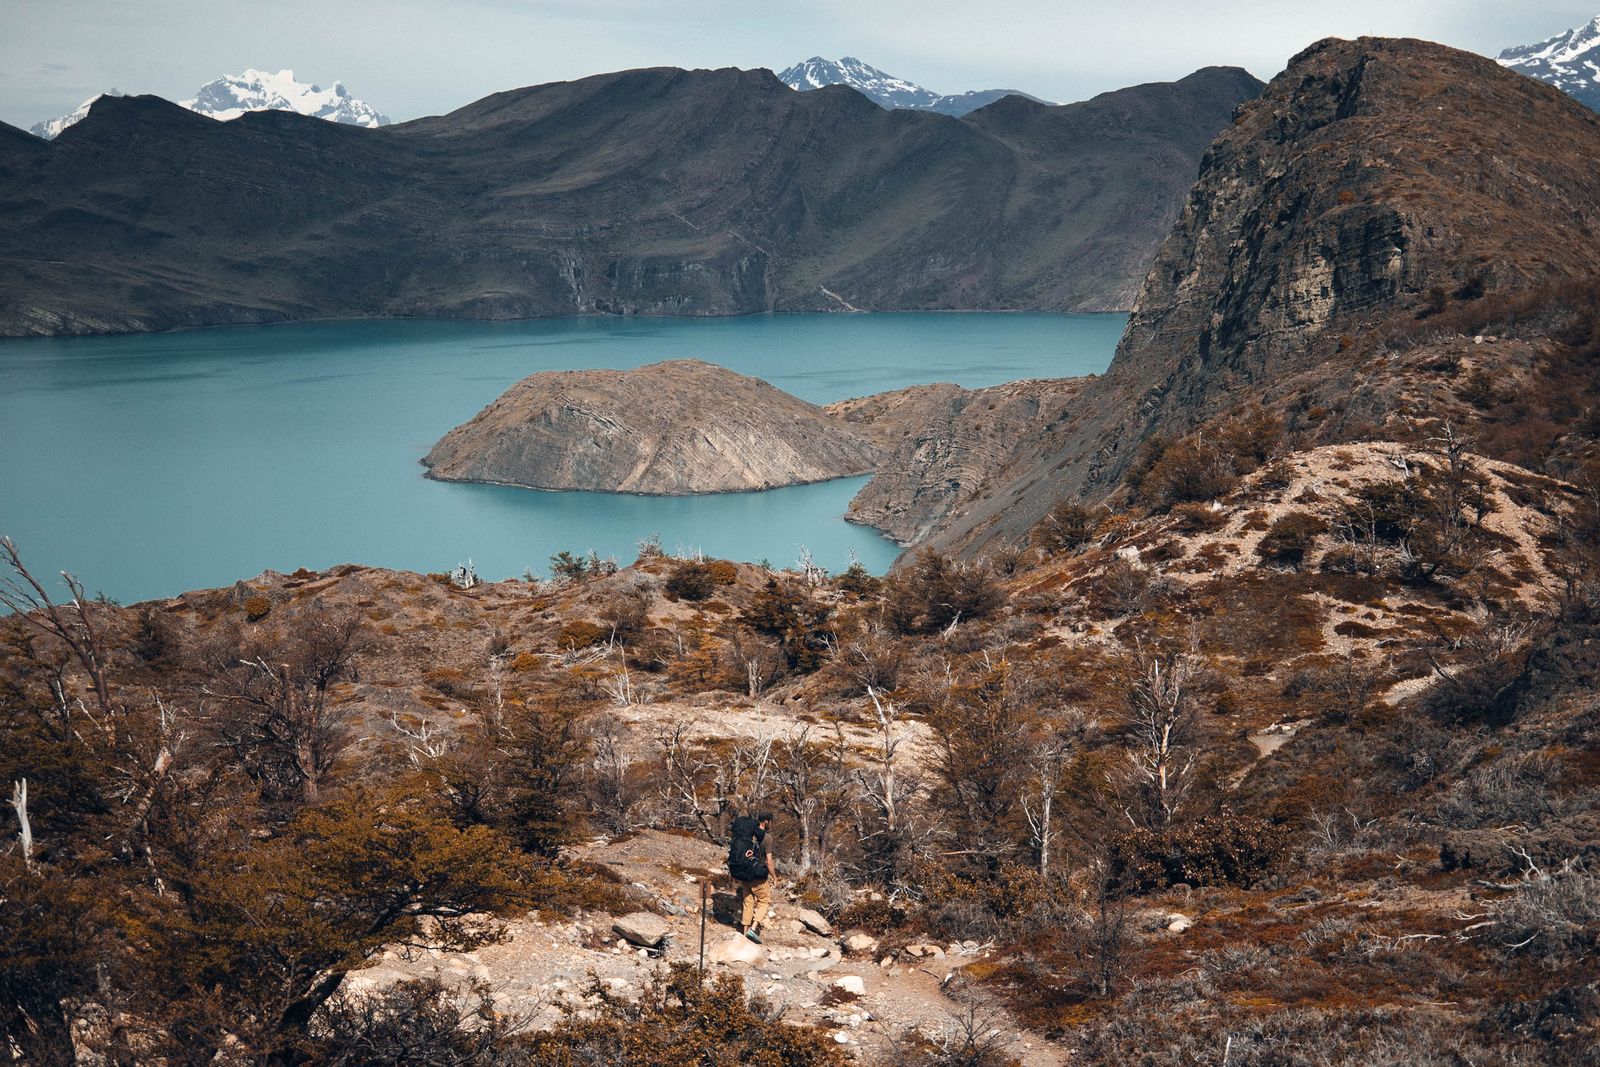
We arrived at Francés tired but happy, and pitched our tent on one of the wooden platforms in the forest. No views this time, but the trees sheltered us from the light rain that started after sunset. We fell asleep quickly, listening to the rumble of the glaciers.
Day 3: Francés → Mirador Británico → Paine Grande (20 km)
The long one. We left Francés super early, in light drizzle, and were at the gate at Italiano by 6:30. Turns out the trail up to Mirador Británico only opens at 8:00, so we stood there until the ranger woke up and opened it :D That would have been nice to know, especially since the receptionist at Francés was the one who told us to get up this early if we wanted to make it to Británico and Paine Grande on the same day -_-
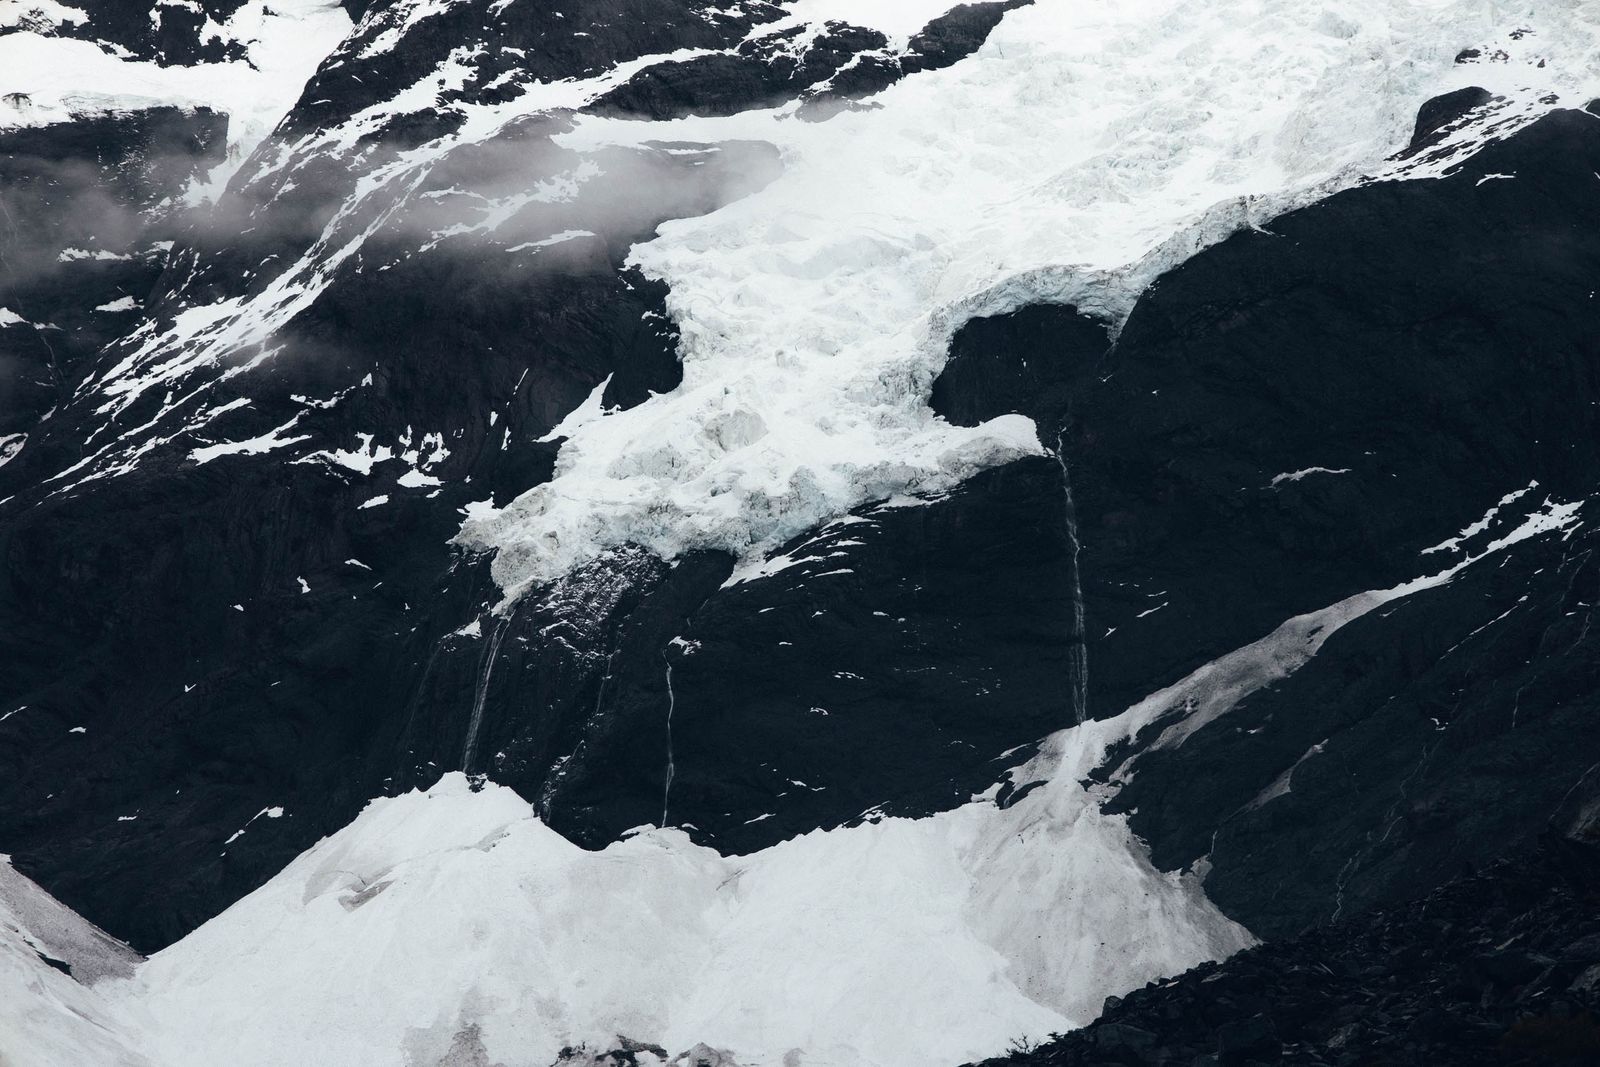
Never mind: while we waited, the rain stopped and the fog lifted from the valley. We left our big backpacks at Italiano and hiked up to Británico with just a small pack. It’s a steep climb, but totally worth going all the way up. The views from the mirador were amazing: we watched the glaciers crumble and the clouds move around the peaks.
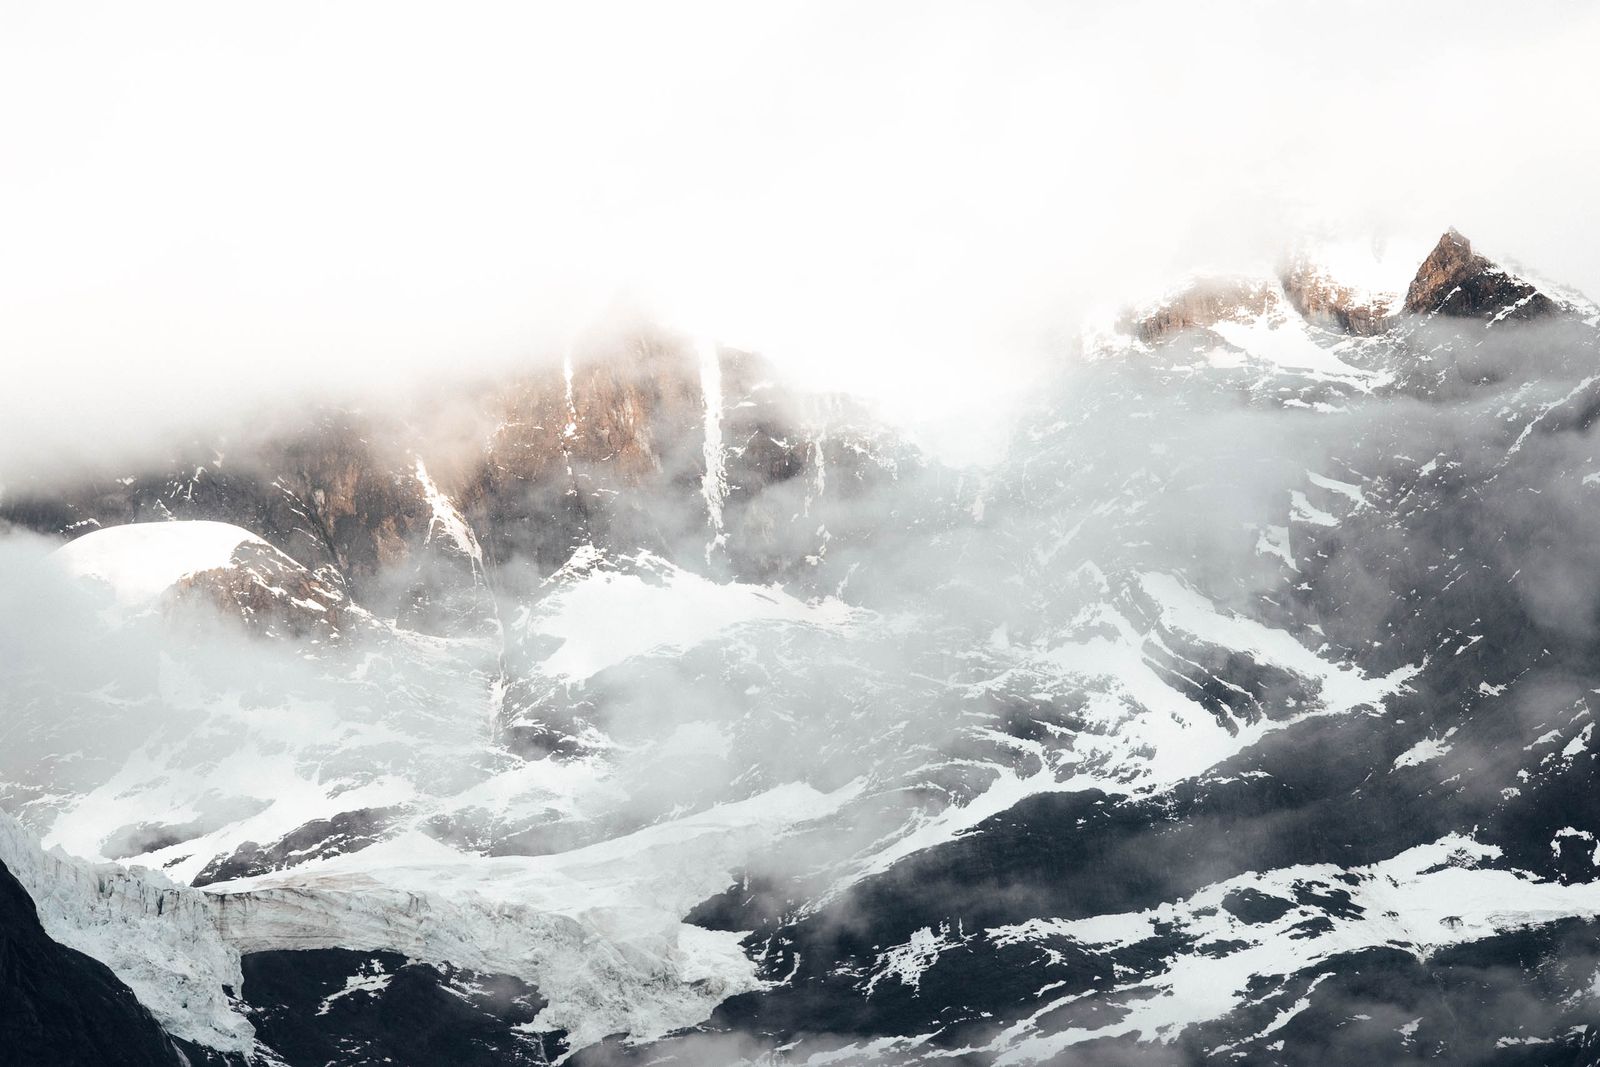
Then we went back down to Italiano, picked up our big packs and continued to Paine Grande. After such an early start and a steep climb up and down, this last part wasn’t much fun, and we were exhausted by the time we reached the campsite. We pitched the tent quickly and treated ourselves to some biscuits from the little shop there. That was a big plus: the Las Torres campsites don’t have shops like this, only expensive ready meals.
Day 4: Paine Grande → Grey (11 km)
A fairly easy day without much excitement. We hiked to Grey and got there pretty early, so after setting up camp we walked out to Mirador Grey, the glacier viewpoint. In the evening a fox visited the campsite. She caused great excitement among the hikers, although the staff seemed pretty used to her :) She was very cute, though.
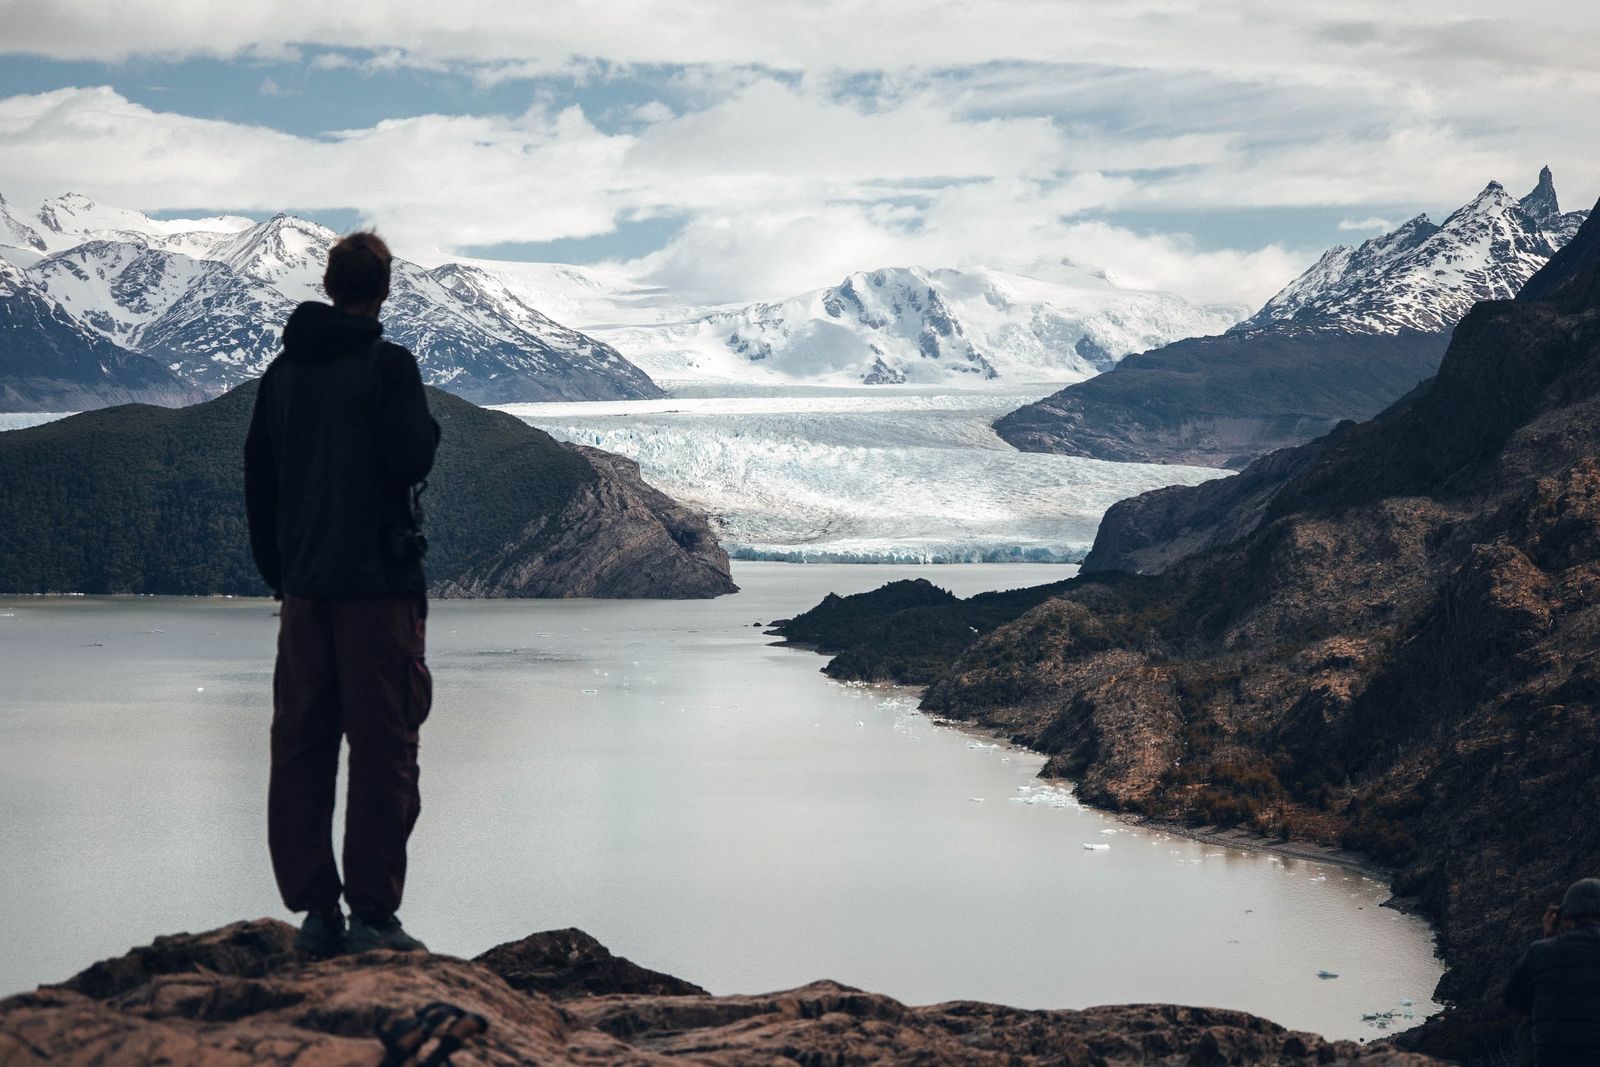
At night we went back out to the mirador to photograph the stars. It was pretty cold, so we gave up fairly quickly, but we got some nice shots, and the view was just amazing.
Day 5: Grey → Paine Grande → Pudeto (11 km)
We got up very early to hike back to Paine Grande and catch the 10:30 catamaran to Pudeto. This section was much more beautiful in this direction than the day before. We kept a good pace and made it in time without any problem.
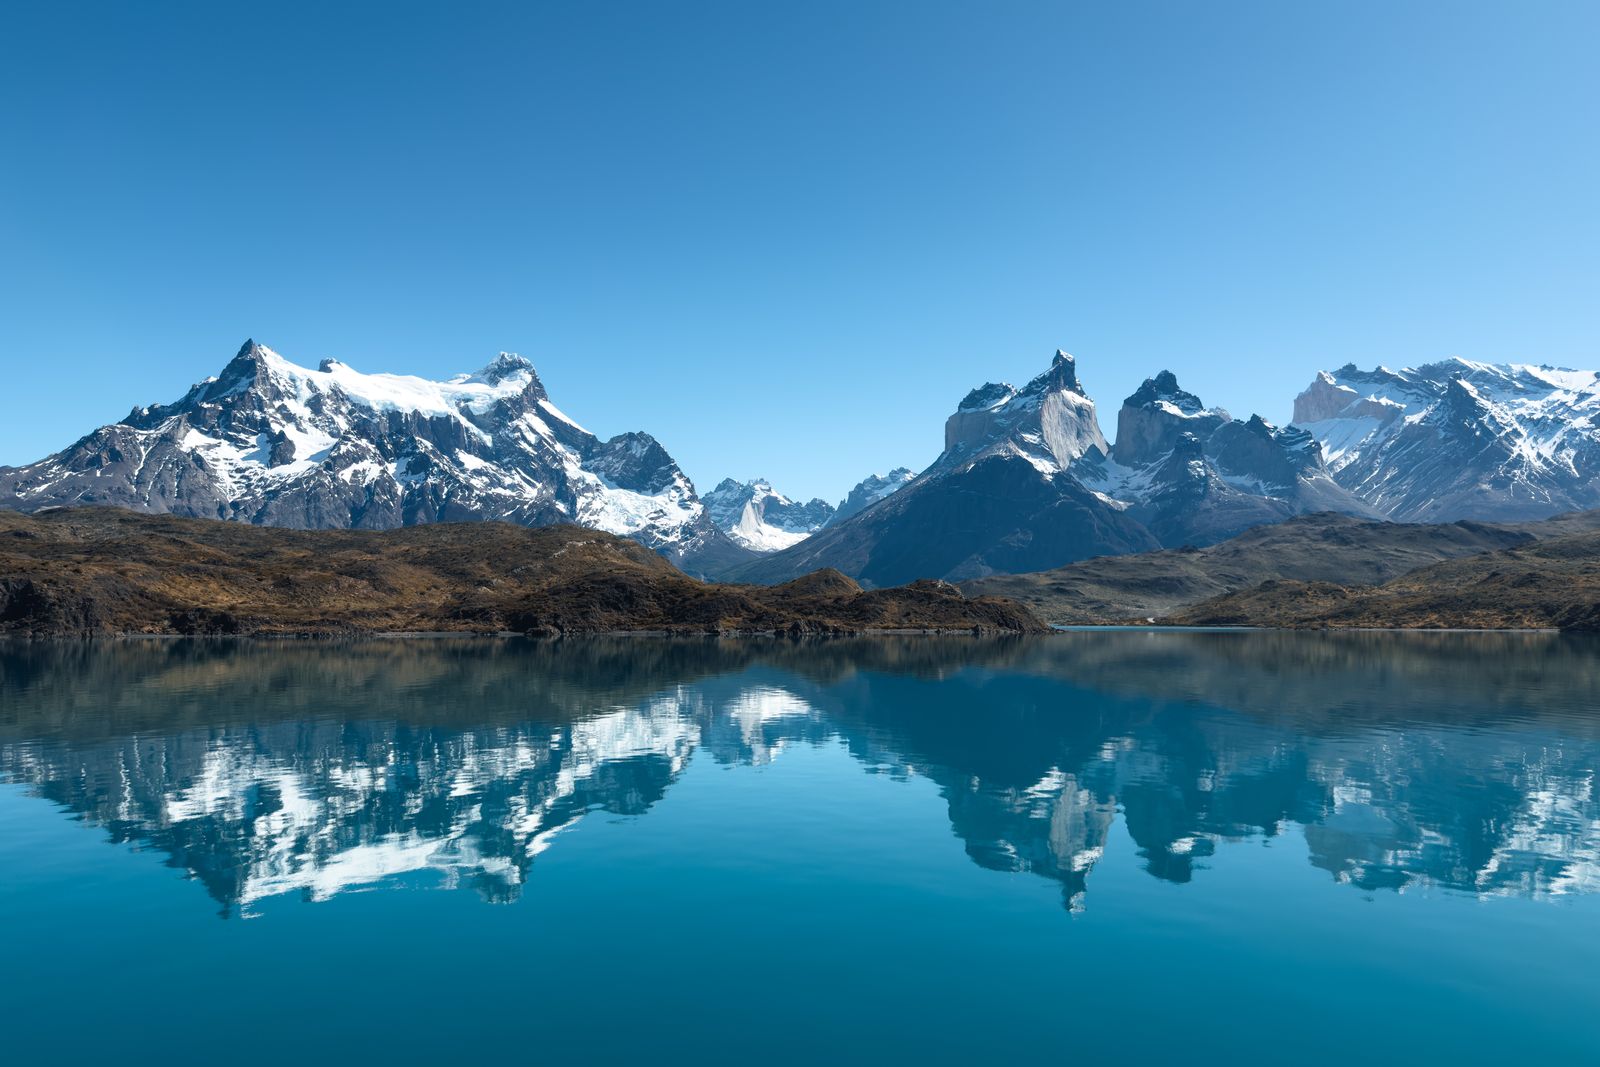
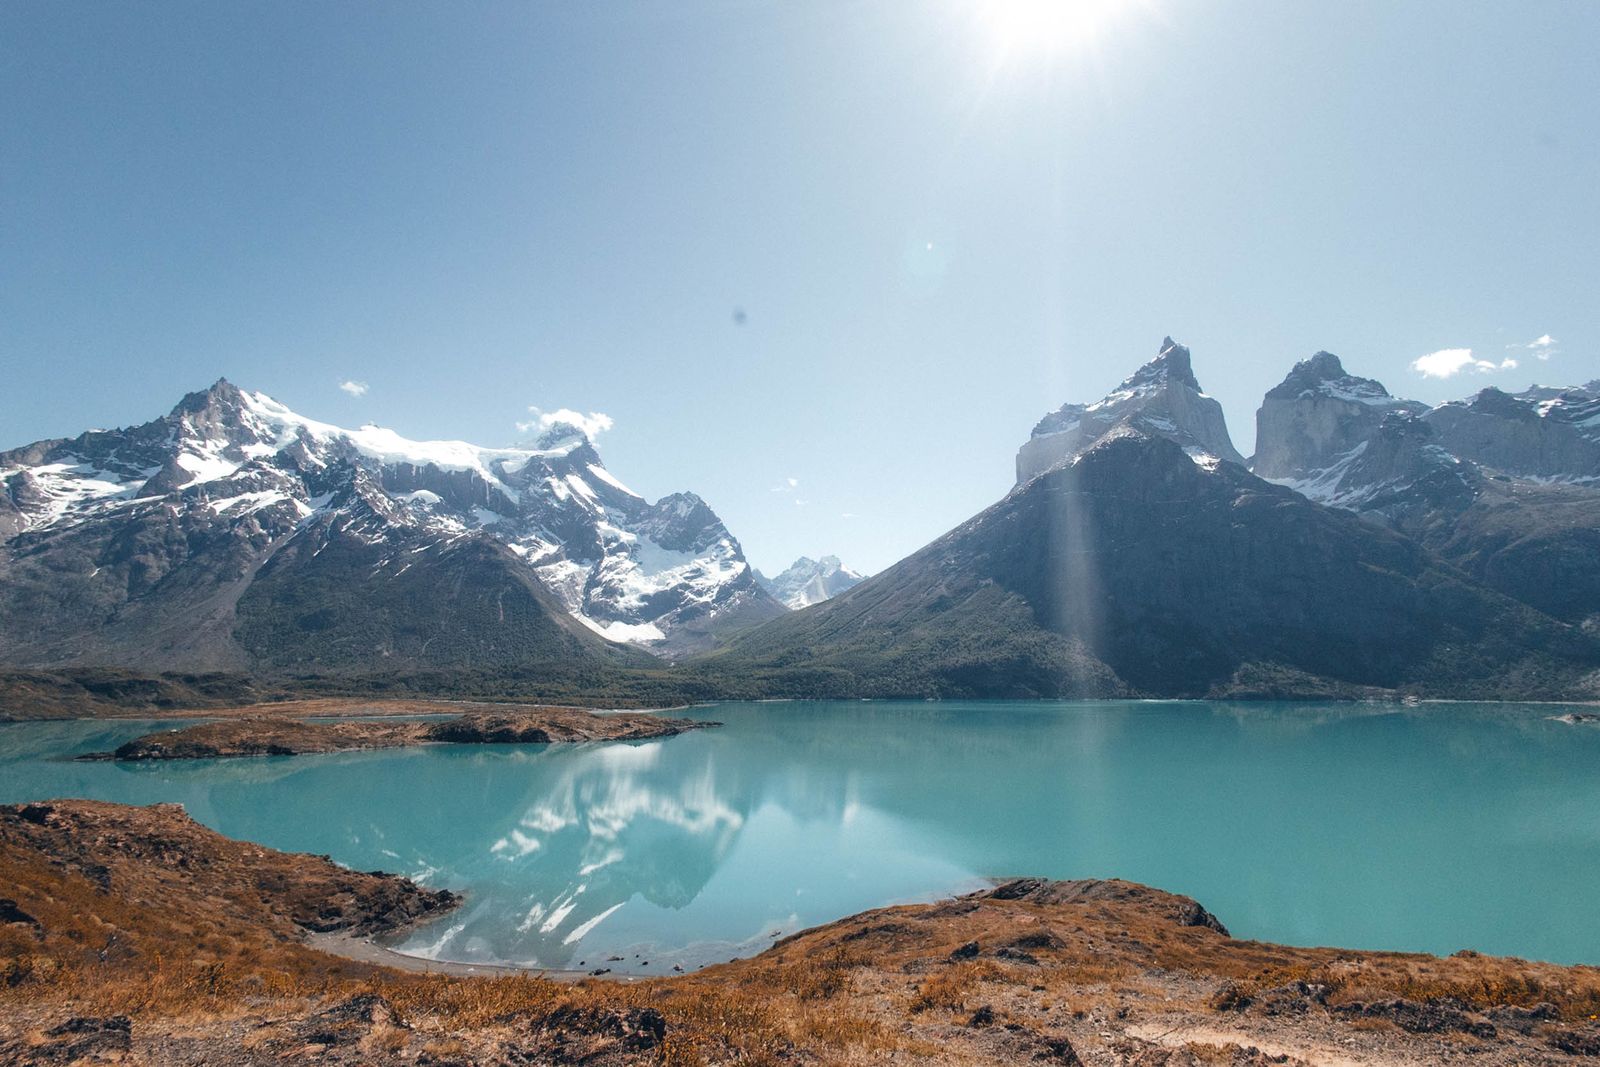
We got off the boat around 11:00 and still had plenty of time before our 19:30 bus, so we hiked to Mirador Cuernos. Again, we could leave our big packs, this time at the little refugio by the bus stop. I highly recommend this hike: we got some of the best views of the whole week here!
W Trek trail cut-off times
Some sections of the W close during the day. These were the times in mid-October:
- Base de las Torres: the last steep section closes at 14:00, and rangers start clearing the viewpoint at 15:30 so everyone gets back before dark.
- Mirador Británico: the trail from Italiano opens at 8:00, and you can reportedly only start up until around midday.
The times change with the season (they’re earlier in October than in summer), so ask the rangers when you arrive.
What can you do with a spare day on the W Trek?
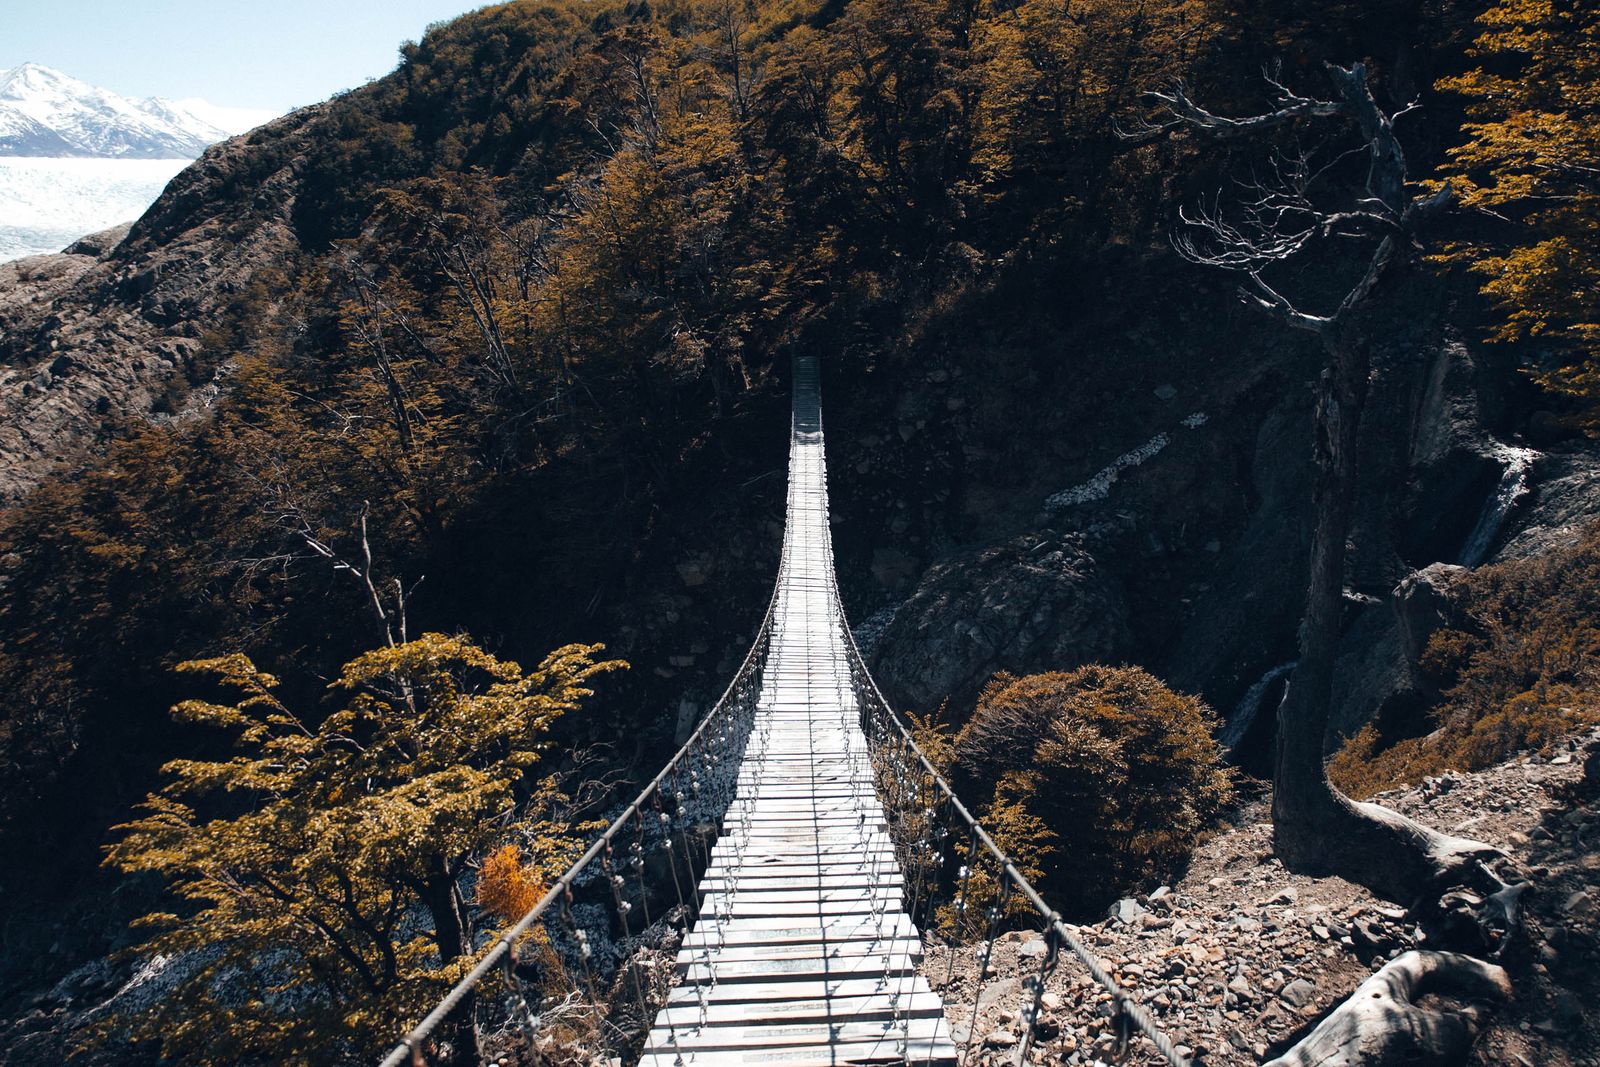
Walk from Grey to the suspension bridges and back. Or, if you only have a few hours before the evening bus, hike to Mirador Cuernos from Pudeto. We did both.
How we ended up with a spare day: we hiked the W in 5 days, but stayed 6. Someone in our team (not naming names :D) decided that if we start on the 10th and hike for 5 days, the bus home is on the 15th. It was the 14th.
So we booked an extra night at Grey and walked to the suspension bridges and back. This is the start of the O Circuit’s back side. In mid-October the trail was closed after the second bridge, so that’s where we turned around.
How do you book the W Trek campsites and refugios?
We booked the park ticket and all 4 campsites through Torres Hike, about five months ahead. They charge a service fee, but it was so much easier: they plan the whole route and book with both campsite companies at once.
- Two companies run the campsites on the W. Las Torres has Central, Chileno, Francés and Cuernos. Vertice has Paine Grande and Grey. Booking them separately means two websites and a lot of tabs open.
- Wild camping isn’t allowed. You can only sleep at booked, official campsites. The free park-run campsites (like Italiano) are closed, so don’t plan around them.
- Book early. We booked in early May for mid-October. The small campsites, like Chileno, sell out fast.
- Buses aren’t included. We searched for the cheapest one on recorrido.cl.
- Buy the catamaran ticket online. We bought ours at the dock (cash only), but people with online tickets boarded first. If the boat had been full, we might not have gotten on.
How do you get to Torres del Paine and back?
Everything starts and ends in Puerto Natales: a bus and a shuttle in on the east side, a catamaran and a bus out on the west side.
To get to Puerto Natales, most people take a bus from Punta Arenas or El Calafate. We came from Punta Arenas.
Getting in (east side):
- Bus from Puerto Natales to Laguna Amarga. We took the 6:30 one, $21 per person.
- A smaller shuttle from Laguna Amarga to the Welcome Center, next to Central campsite. 5,000 CLP per person, cash only.
Getting out (west side):
- Catamaran from Paine Grande across Lago Pehoé to Pudeto. 56,000 CLP for the two of us. At the dock it’s cash only, or you can buy the ticket online in advance. In October it only ran twice a day. In high season there are more sailings, so check the current timetable.
- Bus from Pudeto back to Puerto Natales. Ours left at 19:30, $22 per person.
How much does the W Trek cost?
The W Trek cost us around $310 per person for 5 days, without gear. This is what we paid:
| What | Per person (USD) |
|---|---|
| Park entrance (multi-day ticket) | $56 |
| Central campsite (own tent) | $40 |
| Francés campsite (own tent) | $40 |
| Paine Grande campsite (own tent) | $13 |
| Grey campsite (own tent) | $11 |
| Torres Hike service + payment fee | $29 |
| Bus Puerto Natales → Laguna Amarga | $21 |
| Shuttle to the Welcome Center (5,000 CLP) | ~$5 |
| Catamaran Paine Grande → Pudeto (28,000 CLP) | ~$28 |
| Bus Pudeto → Puerto Natales | $22 |
| Food for 5 days | ~$38–46 |
| Total | ~$304–311 |
The Las Torres campsites (Central, Francés) are the expensive ones: $40 per person, compared with $11–13 at the Vertice ones. Renting a tent there or sleeping in a refugio costs a lot more.
Not included: our extra night at Grey ($11), trekking poles and microspikes ($71 per person) and the gas canister ($4). Pesos are converted at about 984 CLP to the dollar (November 2026).
Good to know: bring some Chilean pesos in cash. The shuttle and the catamaran (if you buy the ticket at the dock) only take cash. Everything else we could pay by card.
What do you eat and drink on the W Trek?
We carried all our food: instant noodles, powdered soups, porridge, that kind of thing. Roughly $8–9 a day per person. Not exactly gourmet, but it did the job.
You can buy food at the campsites, but the prices are astronomical. Paine Grande and Grey have small shops with instant ramen and canned food. Still expensive, but nowhere near the ready meals at the other campsites.
Every campsite we stayed at had boiling water, and that was enough for our instant noodles. We bought a gas canister at Doite in Punta Arenas and barely used it.
Water was easy too: we refilled at every campsite and never had to drink from a stream. We still carried a filter, just in case.
Is there phone signal or Wi-Fi on the W Trek?
There’s no phone signal on the W Trek. It disappears shortly after the park entrance at Laguna Amarga, so download everything you need before you go.
Most campsites sell Wi-Fi, but it’s pretty expensive: other hikers report plans starting at around $10 for an hour. At the Vertice campsites (Paine Grande and Grey), your booking comes with 30 minutes of free internet, which you activate with your booking code. It’s 30 minutes per stay, not per day. As far as we could tell, once you start, the clock keeps running, so you can’t split it up. According to Vertice, WhatsApp texting is also free for guests during the stay (we didn’t try it).
When is the best time to hike the W Trek?
November to March is the best time to hike the W Trek. We went in mid-October, in the shoulder season, and the weather was on our side:
- Days: 10–18°C, sunny every single day and no wind. In Patagonia. I know.
- Nights: cold, around 0–7°C. Our sleeping bags are good, so it was fine.
- Rain: a little on the second night. It stopped by morning and everything dried fast.
- Closures: nothing was closed because of the weather.
- People: almost nobody. The trails and the campsites were quiet.
The downsides of October: the O Circuit’s back side was still closed, the catamaran only ran twice a day, and the trail cut-off times are earlier than in summer.
So is the W Trek worth it in October? For us, yes. Just pack for winter and hope for the best.
What should you pack for the W Trek?
This is our full W Trek packing list for October, sorted by category. It’s everything we carried for 5 days, food included.
We brought all our own gear, but you can rent pretty much everything in Puerto Natales. We went through all the rental shops, and the ones we liked best were Kallpamayu and Rental Natales. We bought trekking poles and microspikes instead of renting them: we’re traveling for a year, so it was worth it. We’d read that in bad conditions the rangers can turn you back on some sections if you don’t have the right gear, and we didn’t want to risk it.
Clothes
- Shell jacket
- Down jacket
- Thermal sweater (mid-layer)
- 1 long-sleeve merino top
- 1 short-sleeve merino top
- 2 pairs of hiking pants, in case one gets wet (one of them with zip-off legs)
- Underwear and merino hiking socks
- Hat, gloves and a buff
Shoes
- Hiking shoes (not boots): we only travel with one pair in South America, and they were enough. If your ankles are on the weaker side, go for boots, because the terrain is very rocky.
- Flip-flops for the campsites
Sleeping
- Tent
- Sleeping mat
- Sleeping bag: bring a warm one, our nights were around 0–7°C
On the trail
- Trekking poles: they came in really handy, because some sections are steep and the trail is very rocky
- Microspikes: we never needed them, but we had great weather
- Gaiters
- Headlamp
- 2 liters of water (you can refill at every campsite)
Food and cooking
- Food for 5 days (see what we ate above)
- Cooking set
- Water filter: we never needed it, but it’s good to have one just in case
Toiletries and first aid
- First aid kit and our usual medication
- Toothbrush, toothpaste, shower gel and a towel
- Toilet paper: you don’t really need it, every campsite had some
Electronics
- Camera with 2 lenses
- Spare batteries
- Power bank
Everything else
- Passport and Chilean pesos in cash for the shuttle and the catamaran
- Duct tape: it always comes in handy
- Massage ball: the ultimate life hack after a long day of hiking
Where are the best photo spots on the W Trek?
- Base de las Torres: the classic one.
- Mirador Británico: worth the long day.
- Mirador Grey: go back after dark for the stars.
- Mirador Cuernos: an easy one from Pudeto.
To be fair, our light wasn’t amazing. The famous photo spot near Hotel Explora isn’t on the W, and without a car it’s far from Pudeto, so we skipped it.
What wildlife can you see on the W Trek?
In our case, basically nothing. Foxes came to steal food at the campsites, and we saw some small birds. The park is famous for its pumas, rheas (ñandús) and guanacos, but unfortunately we didn’t see any of them :(
What would I do differently on the W Trek?
- Bring more food. Budgeting is nice, but days of trekking with a 10 kg backpack take their toll. One pack of instant ramen just doesn’t do the job like it did in my 20s :D
- Leave the gas canister at home. The boiling water at the campsites was enough for us.
- Book the bus home for the right day. :D
- Don’t count on a climbing permit. I thought a free climbing permit could have saved us the campsite fees, but it doesn’t work that way. It’s only for actual climbing, it comes with a long list of requirements (a DIFROL permit, rescue insurance, a radio or satellite phone), and the park can revoke it if you misuse it. If you just want to hike the W, book the campsites.
Follow along on Instagram: @rayappley